Request an extra-curricular activity
Quick answer
- From the hub, click Create extra-curricular activity to open the four-step flow.
- Work through Activity details → Resource booking → Risk management → Review and submit.
- Use Save and exit to keep a draft, or Submit on the last step to create it.
Requesting an extra-curricular activity is a long, gated, four-step planning form — Activity details → Resource booking → Risk management → Review and submit — that goes to a coordinator or leader for approval. Any staff member with extra-curricular access can request one. A progress indicator sits in the header, and a fixed action bar with Save and exit, Back, and Next runs along the bottom. Submit stays disabled until every required field across all four steps is valid; errors show inline as you go.
Open the create flow
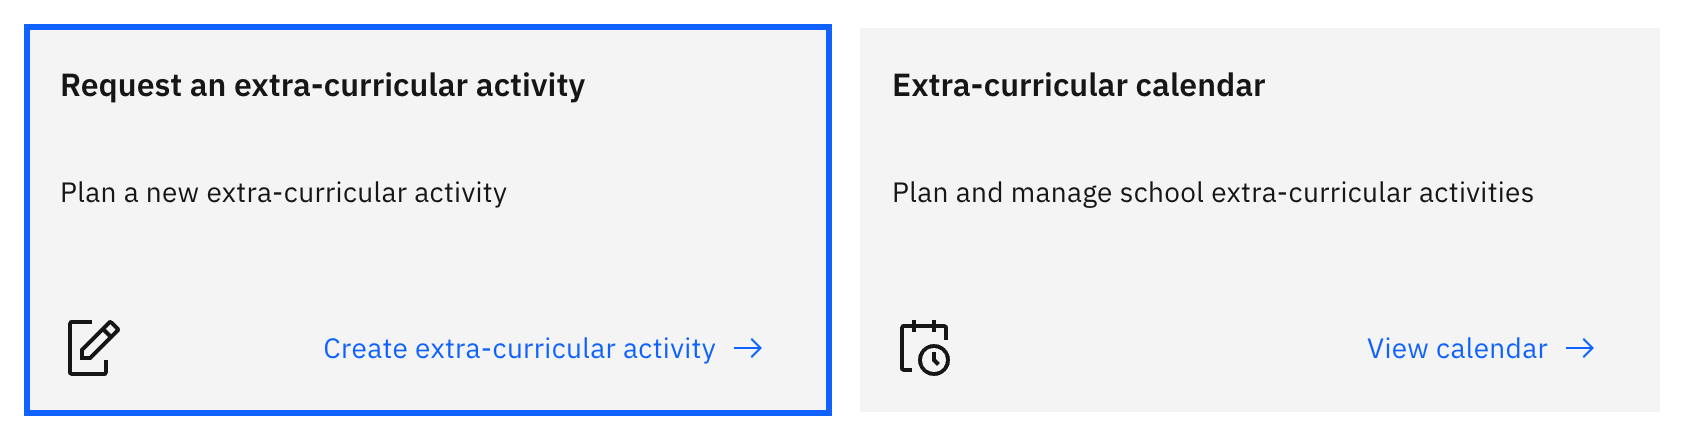
From the Extra curricular hub, click Create extra-curricular activity on the Request an extra-curricular activity action card. To resume a saved draft instead, click Edit on its New/Draft request row.
Fill in the activity details (Step 1)
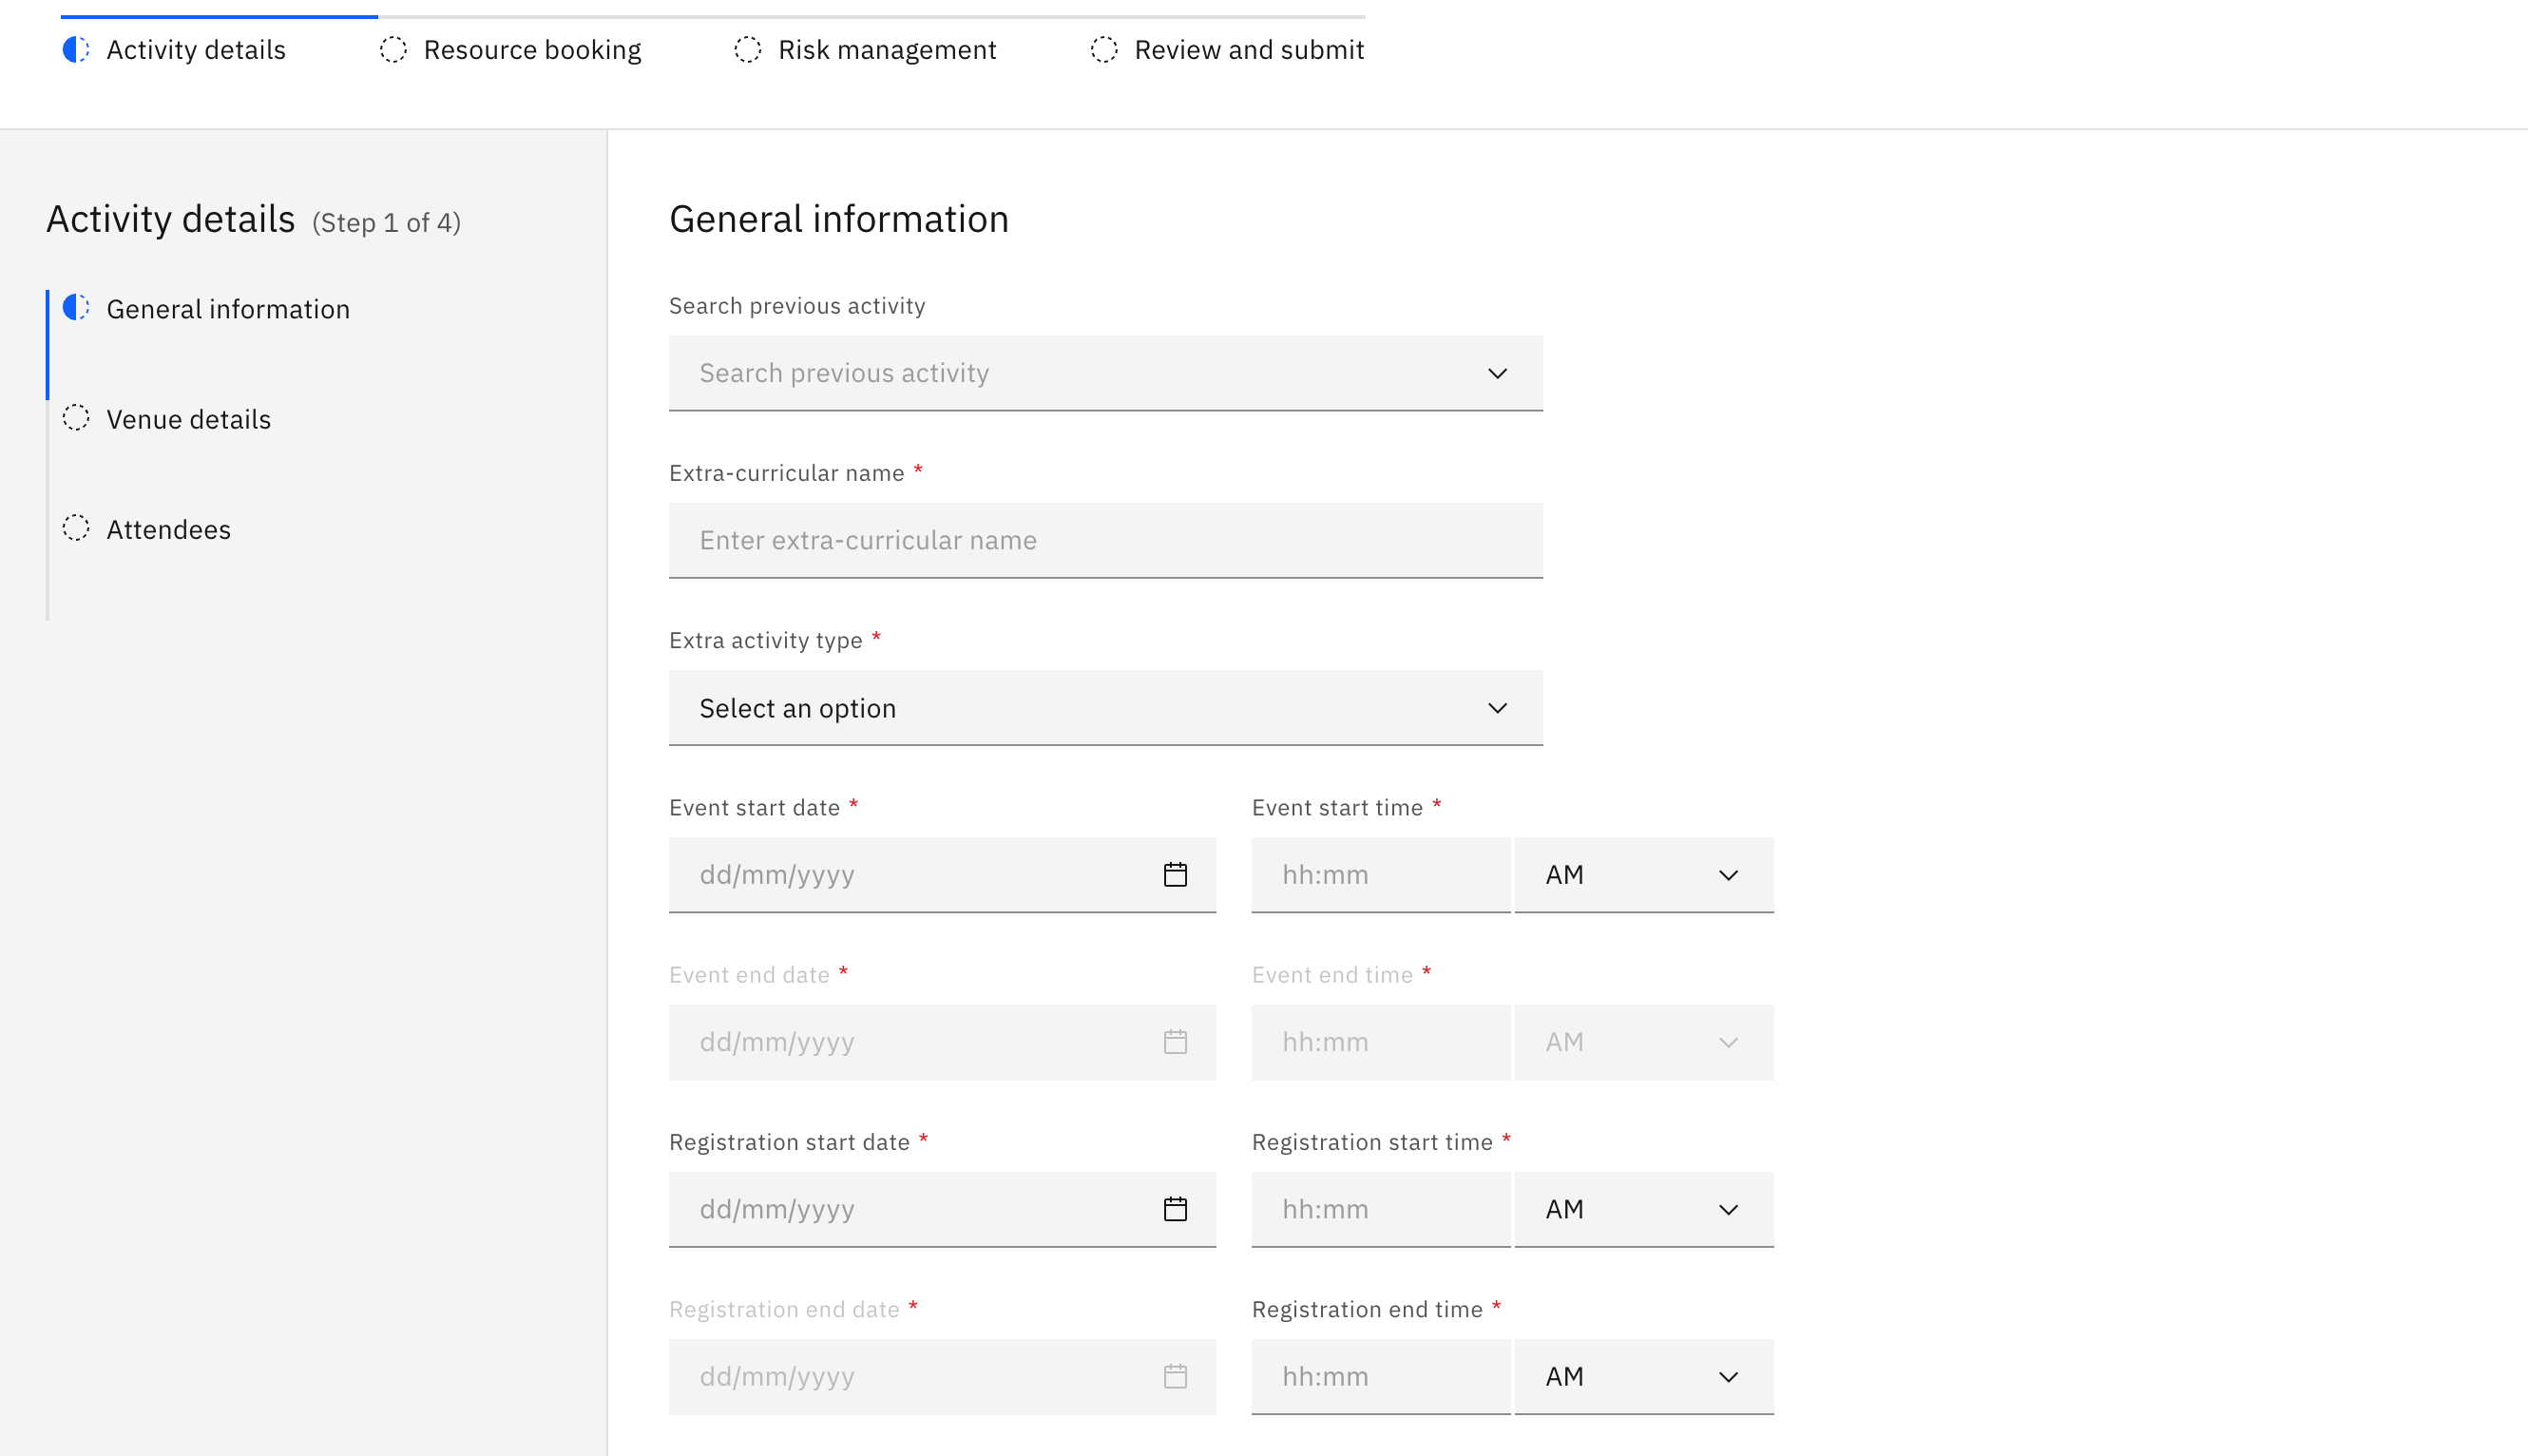
Complete the three sub-sections in the side rail. In General information, set the Extra-curricular name and Extra activity type, then the Event start/end and Registration start/end dates and times — each start must be before its end, and start dates can't be in the past. Optionally add a Create a Teams for this activity space, an Event image (≤10 MB, .png/.jpg/.jpeg, one file), or Fixtures documents (≤10 MB each, .pdf/.doc/.docx).
Set the venue and attendees (Step 1)
In Venue details, choose On-site location (add rooms, each with a room, configuration, and expected attendees) or Off-site location (add venues with full contact details); the section is locked with "Please select event date first" until the event date is set. In Attendees, add at least one Student group, write the Student requirements, set Max no. of students (greater than 0) and the Staff to student ratio, pick Cost to (Parent, Parents & School, or School) with its matching amount and Payment due date, and tick at least one Accessibility considerations option. Turn on Enable waitlist to hold students beyond the max.
Book resources (Step 2 — optional)
You can skip this step. To book, add resource rows in Select resources (each needs a category and a specific resource, plus a quantity greater than 0 for most categories). If you book anything, Resource collection then requires Picked up by, Collection date, and Return date.
Complete the risk assessment (Step 3)
Each risk area — Student list, Activity based, Transport, Staff capacity — must either list risks (each with a mitigation) or be marked as no risk; you can't leave one blank. Fill in Key contacts (lead, first-aid, principal, deputy, plus a local emergency number — all phone-format-checked; principal and deputy auto-fill), tick the External provider confirmation, and in Requester clarification tick the requirements confirmation and pick a Pre-event briefing status.
Review and submit (Step 4)
Check the read-only summary on Review and submit, use Back to amend anything, then click Submit. A success message confirms the activity is created. Once approved by a coordinator or leader, it opens for enrolment and appears on the extra-curricular calendar.
Note: Save and exit keeps a draft you can resume later from its New/Draft request row — but it's disabled until the activity has a name. If you navigate away with unsaved changes and no draft, an unsaved-changes prompt warns you before the work is lost.