Request an overseas trip
Quick answer
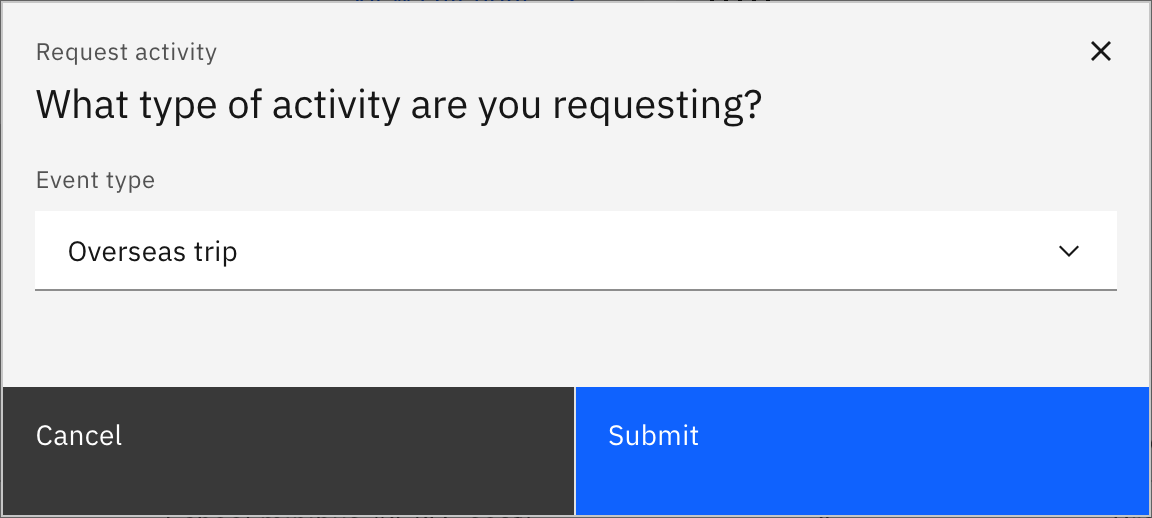
- On the Activities overview, click Request activity, choose Overseas trip, and Submit.
- Work the four steps: Activity details → Resource booking → Risk management → Review and submit.
- Overseas trips add a maximum-attendees cap and a wait list, plus insurance and a required local emergency number.
- On the last step, click Submit — the request lands on the overview as Pending.
An overseas trip is a four-step request — Activity details → Resource booking → Risk management → Review and submit — and it carries the most controls of any activity type. Any staff member with activity access can submit one; an activity coordinator approves it afterwards.
Start the request
On the Activities overview, click Request activity, choose Overseas trip, and click Submit. The four steps run across the top of the page header; use Next / Back to move, or the step indicator to jump.
Fill in the activity details
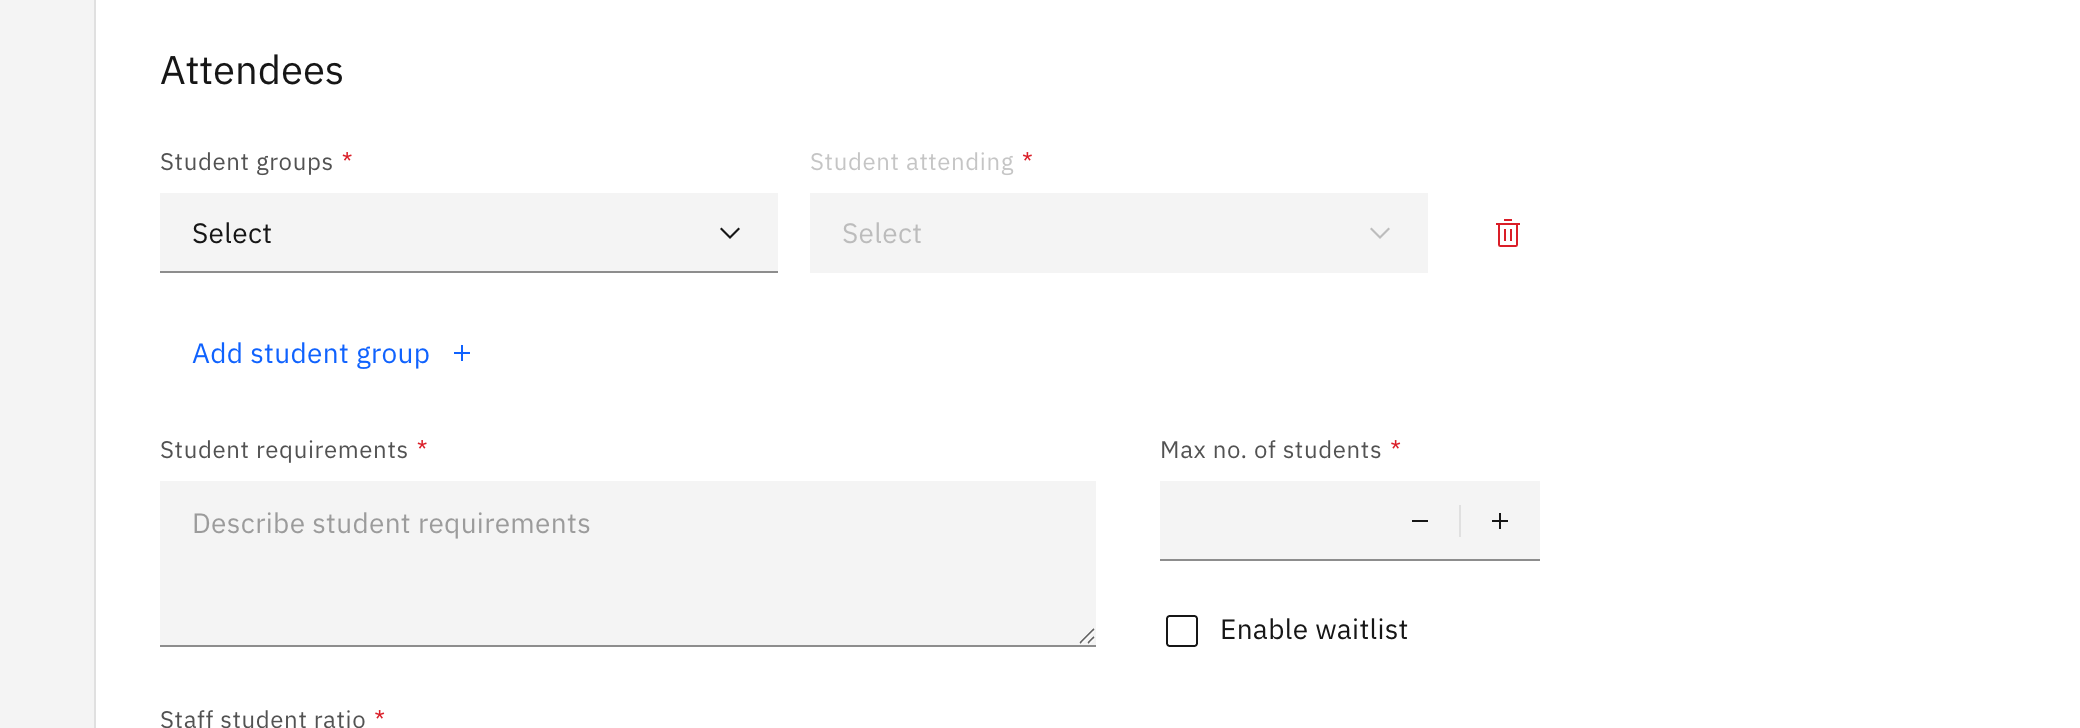
Enter the Activity name, the Start date / End date and Start time / End time, and optionally a cover image. Under Attendees, pick your Student groups (by house, year group, class or roll group) and name the lead staff member and a second-in-charge. Set the insurance option, and set the Max no. of students cap and Enable waitlist — overseas trips are the only activity type with these.
Overseas trips support multiple off-site venue entries, so add each venue (name, address, phone, email, website and contact). Finish the step with the activity's purpose and curriculum alignment, plus a schedule file and a packing-list file.
Book resources (optional)
Book anything the trip needs under Finance, Equipment, Transportation and Technology. You can skip this step entirely — but once you start a booking row you must finish it (pick a resource category and a resource), or Next stays disabled.
Complete the risk assessment
Work through each category — Student lists, Activity based, Transport and Staff capacity — logging risks and their mitigations, or marking a category "no risk". Under Key contacts, the local emergency number is required for an overseas trip. Then confirm the External provider checks and the Requester clarification items.
Review and submit
Step four is a read-only summary of everything you entered. Click Submit. A success message confirms it and you land back on the overview with the request showing as Pending.
Submit stays disabled until every required field across all steps is valid. If anything is missing, an error appears for each invalid field so you know exactly what to fix.
Note: To leave before submitting, click Save and exit — it saves your progress as a Draft and is enabled as soon as you've entered an activity name. If you try to leave with unsaved changes, an unsaved-changes prompt appears first.