Request a visit
Quick answer
- On the Activities overview, click Request activity, choose Visit, and Submit.
- Work through the four steps: Activity details → Resource booking → Risk management → Review and submit.
- On the last step, click Submit — the request lands on the overview as Pending.
A visit is the shorter, simpler off-class activity type. The request is a four-step guided form — Activity details → Resource booking → Risk management → Review and submit — and any staff member with activity access can submit one. It then goes to an activity coordinator as a Pending request for sign-off.
Start the request
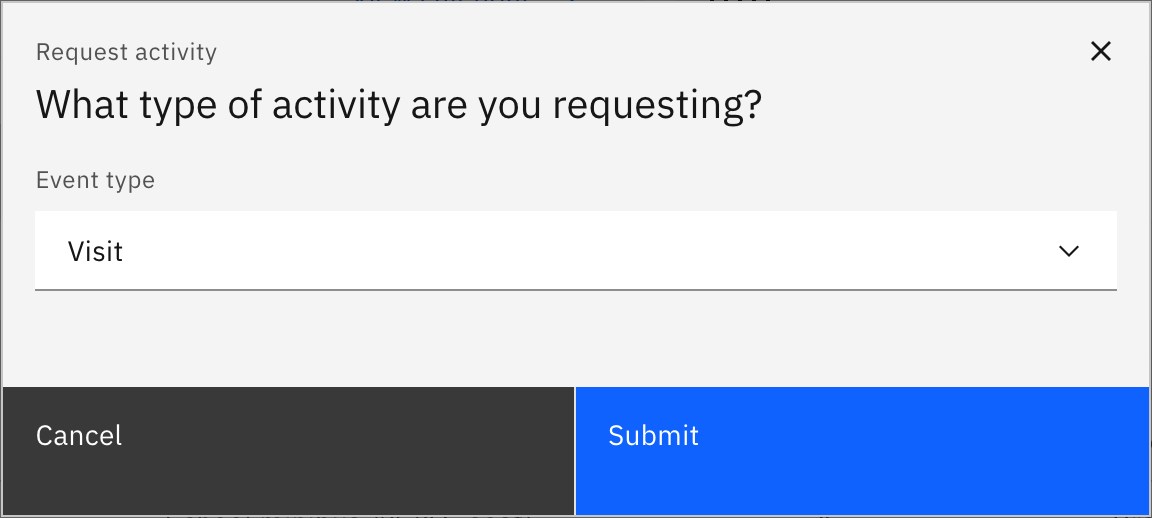
On the Activities overview, click Request activity, choose Visit, and click Submit. To check a date first, use the Calendar view card.
Fill in the activity details
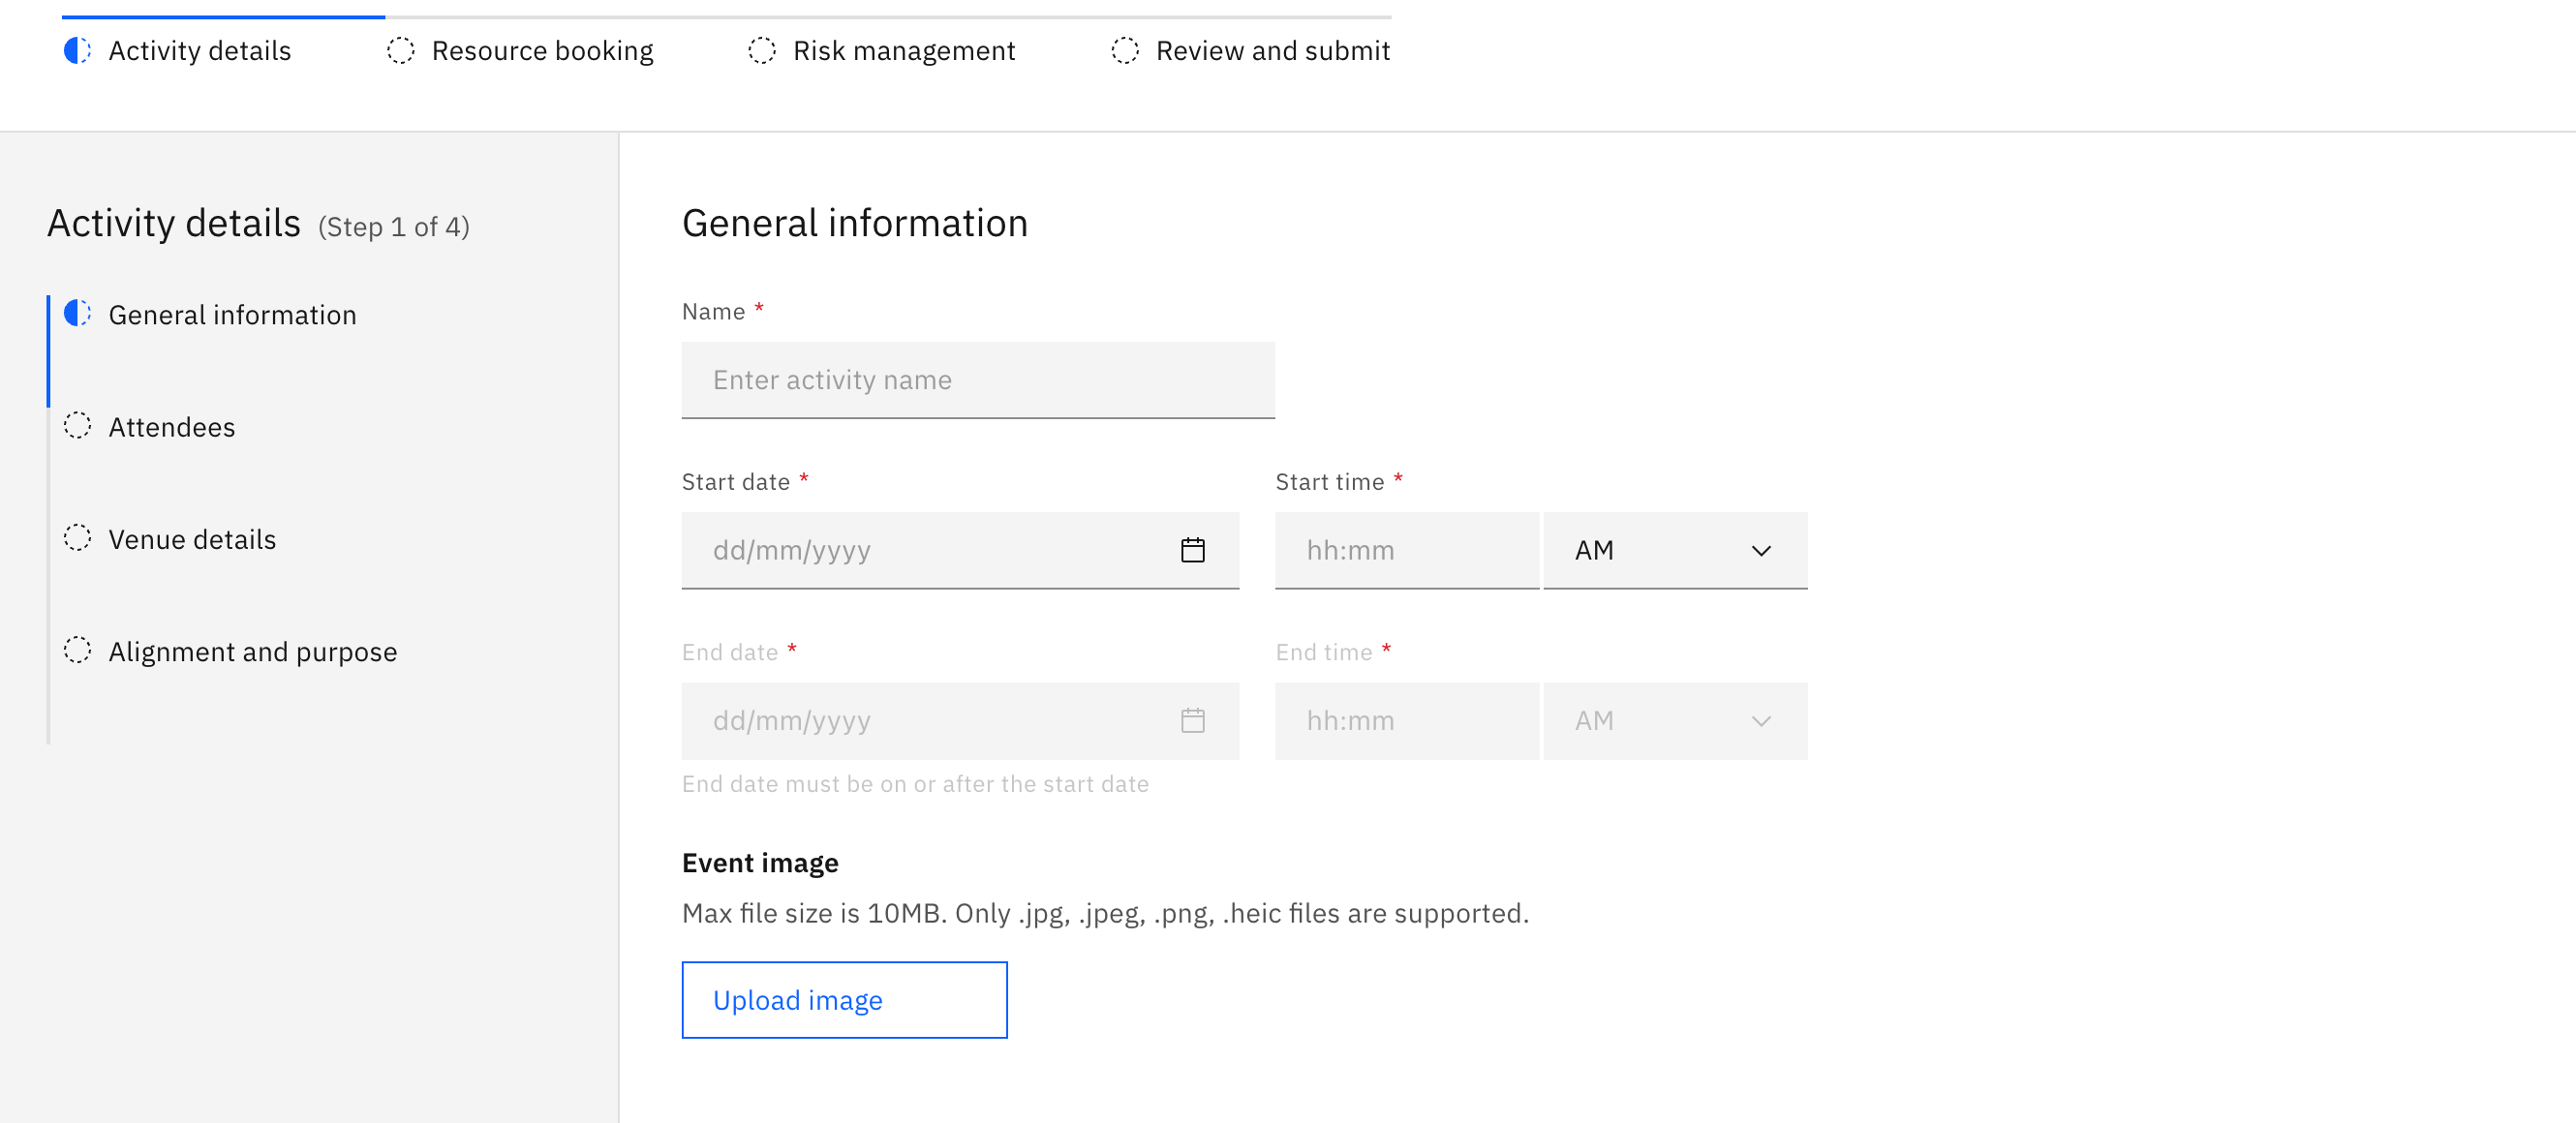
On Activity details, complete the four sections shown in the left-hand list. In General information enter the Activity name, Start date / End date, and Start time / End time (all required); a Cover image is optional. In Attendees, pick a single group — one house, year group, class, or roll group — and choose Parent consent from its dropdown. In Venue details pick an approved venue or enter one manually. In Alignment and purpose record the purpose and curriculum alignment and upload a schedule file.
Book resources (optional)
On Resource booking, book anything the visit needs across Finance, Equipment, Transportation, and Technology. You can skip this step entirely, but once you start a booking row you must finish it — pick a resource category and a resource — or Next stays disabled.
Complete the risk assessment
On Risk management, work through each category in turn: Student lists, Activity based, Staff capacity, Key contacts, External provider, and Requester clarification. For a visit there is no Transport category, and the local emergency number under Key contacts is not required.
Review and submit
On Review and submit, check the read-only summary. Submit stays disabled until every required field across all steps is valid; if anything is missing, an error message points to each invalid field. Click Submit — a success message confirms it and you return to the overview with the request showing as Pending.
To stop partway, click Save and exit (enabled once you have entered an activity name) to keep your progress as a Draft; leaving with unsaved changes prompts you first.