Create a notice with Felix
Quick answer
- Prompt Felix with create a notice and what it is about.
- Confirm the category and RSVP, then pick a title, description, audience and dates.
- Add an image, check the review screen, and click Publish.
Felix can write and publish a notice for you from a plain-English prompt. It suggests the title and description, works out the category and audience from what you say, and checks your details against your school's data before it publishes.
You can also create a notice on the form — see Create a notice.
Start with a prompt
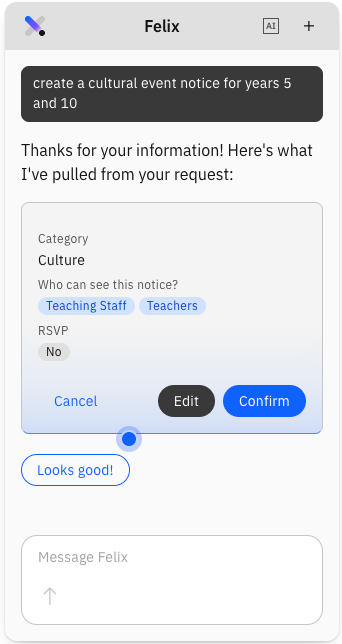
Open Felix and describe the notice — for example, create a cultural event notice for Years 5 and 10. A short prompt works too: Felix simply asks you more questions.
Note: Felix checks what you type against your school's data. If you name a year group your school does not have, it tells you before going any further.
Confirm what Felix inferred
Felix plays back what it worked out from your prompt — the notice category and whether RSVP should be on. Click to confirm, cancel, or edit inline: change the category, or toggle RSVP off if attendance does not need confirming.
Choose a title
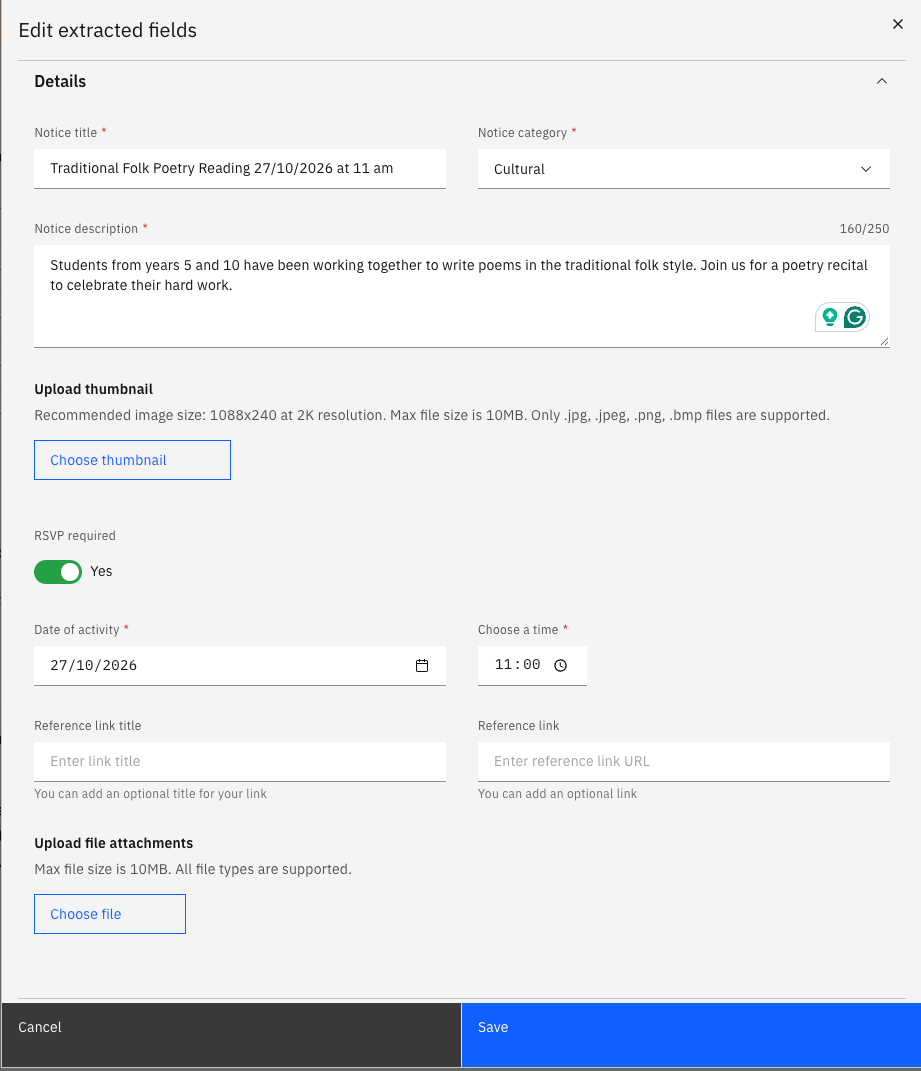
Felix suggests a title. Accept it, ask for alternatives, or prompt for a change — for example, suggest a title with the event date, Thursday next week. Anything new you mention here is picked up later in the flow.
Generate the description
Felix drafts the description from what it knows so far. Prompt it to add anything missing — for example add the location: the main campus yard — and it regenerates.
Complete the audience
The standard StaffXP audience screen appears inside the flow. Set the year groups, houses, campus, and whether staff and parents are included, then save. House is required, so Felix asks for it if your prompt did not cover it.
Check the dates and visibility
Felix fills these in with defaults you can change:
- Event date — taken from anything you mentioned in the prompt, title or description.
- Start time — rounded up to the next full hour.
- Visible from — now.
- Visible until — three hours after the event.
A 7-day notice indicator shows how much warning recipients get. Adjust by prompting — for example the event will start at 8am or the event will be next Thursday.
Add an image
Upload an image from your device, or use the default category image.
Note: Felix cannot generate or find an image for you. It describes the kind of image that would suit the notice, and you supply it. If you upload nothing, the standard image for that category is applied.
Review and publish
The review screen lists the title, dates, visibility and audience. Edit anything that is wrong — Felix validates as you save, and will not accept a start time in the past, or a Visible from date later than Visible until. Then click Publish.
Find the published notice
Go to Notices and open the card to see it as everyone else will. See Find and read notices.