Application Fee Waiver
Quick answer
- In All pre-admission fees, find the student record, click Edit, tick the Waive checkbox, then click Cancel, set a reversing date, and click OK.
- The system automatically handles the cancellation based on the fee's current status — from marking as cancelled through to generating a credit note if the invoice is already posted.
The waiver process handles cancellation automatically based on the fee's current status:
- Created (no sales order) — status set to Cancelled.
- Created (sales order and prepayment invoice created) — sales order cancelled.
- Paid (customer payment posted) — prepayment invoice reversed and sales order cancelled.
- Posted (sales order invoice posted) — system creates and posts a sales order credit note.
Find the fee record
From the FNO dashboard, open Modules ▸ Academic Management, expand Inquiries and reports, then expand Pre-admission fees, and click All pre-admission fees. Search for or filter by student account.
Enable the waiver
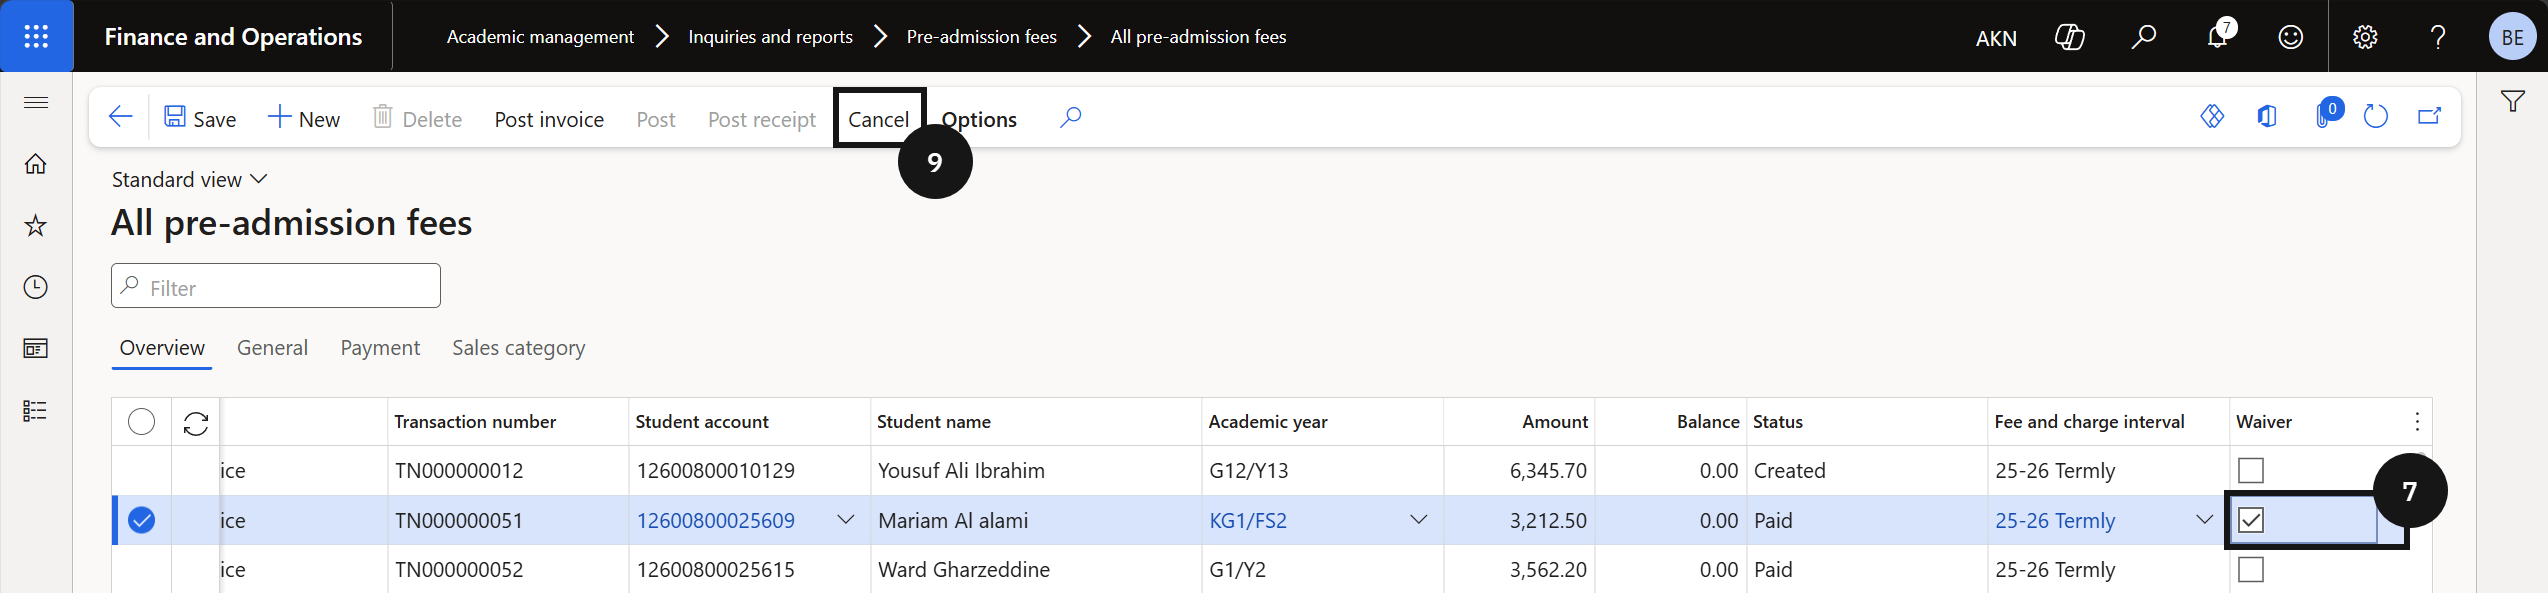
Select the row of the application to waive. Click Edit in the toolbar, tick the checkbox in the Waive column, and click Save.
Cancel and set the reversing date
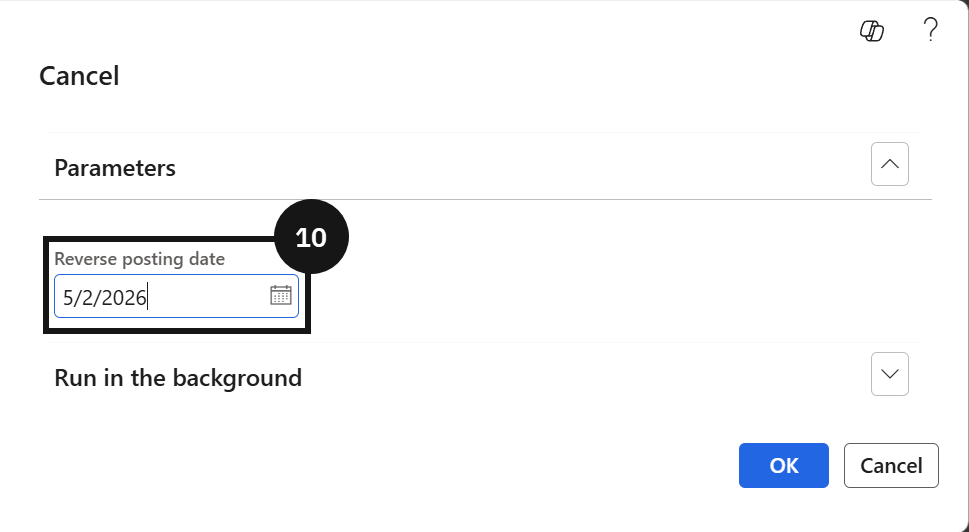
Click Cancel in the toolbar. Select a Reversing posting date, then click OK. Refresh the page to see the updated status.